What I don't understand is how I can make a dang good french macaron (which is considered one of the hardest cookies to make) on the first try, but chocolate chip cookies defeat me on a regular basis?! What kind of rubbish is that?!
I've always been attracted to french macarons. They are small and colorful and very pretty, but I had never tried one until a few months ago. They are pretty hard to come by around here, but I never once thought about making them myself. It sounded like a death wish!
After enough curiosity and probably too much research, I found myself thinking that I could probably do it. So I set out yesterday afternoon to accomplish my goal. I made a trip to the grocery store (the first time i've ever bought almond meal - it's crazy expensive!) and set aside plenty of time to allow myself to try these cookies. I was pretty surprised when they came out of the oven - they actually turned out! They were absolutely hideous, but they had feet! And they were the perfect texture and taste! I could hardly believe it! The only mistake I had made was that I piped the batter wrong.
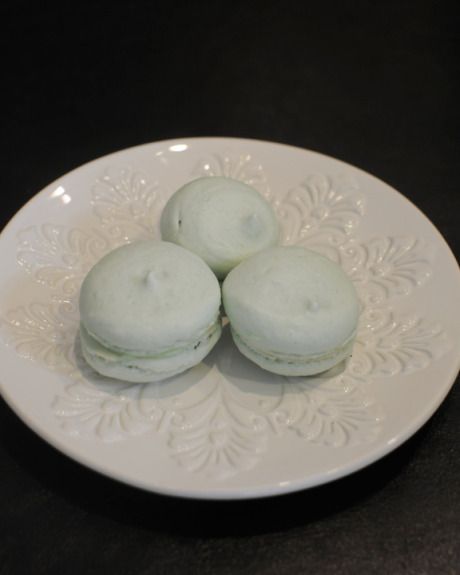
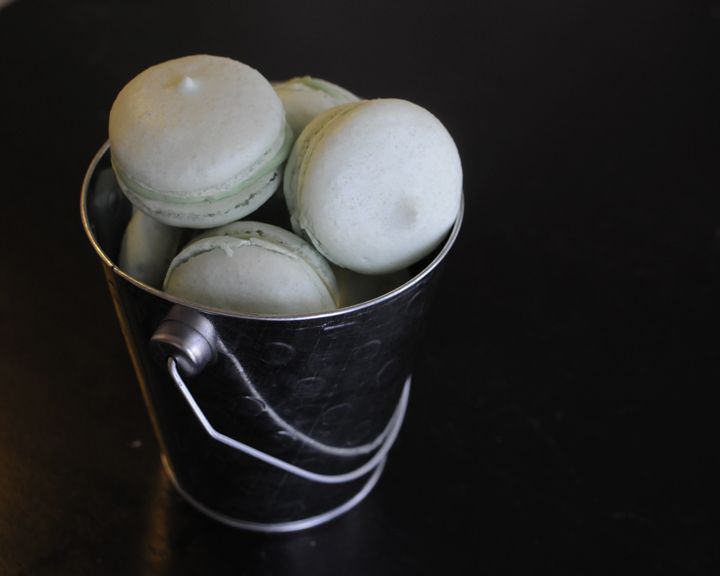
So today, I was determined to try again, and this time make a truly perfect macaron. I'm pretty proud to say that I think I accomplished it! Okay, so maybe they aren't perfect, but they're pretty dang close! Especially for a first try! I was so amazed! I can't believe I did it! I've been on such a high since I pulled them out of the oven and they were unmistakably the adorable little french macarons of my dreams. So the way I see it is that if I can do it? Psh, pretty much anybody could.
I followed this recipe from PopSugar, and have written it below for you! This recipe was perfect for me. It was very descriptive and very easy to follow. I only wish they had included pictures! So today, when I made my second batch of macarons, I convinced my husband to photograph the process. Here we go!
A few things before we get started:
The key to these cookies, as I have discovered is to be very careful and precise. Be really patient, don't over-mix anything, and read the recipe all the way through before you begin so you understand the process. If you have any questions about anything, let me know and I'll do my best to answer them. Also keep in mind that these are basic, vanilla french macarons. The possibilities for flavor and color combinations are virtually endless! I think next I'll try raspberry. To keep up with current trends, I dyed these macarons a perfect shade of mint green, of course!
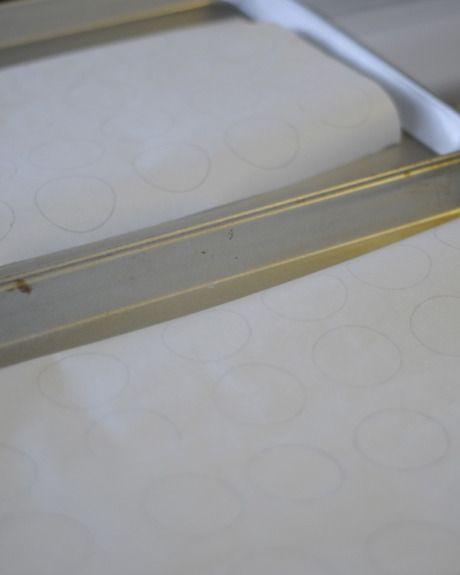
trace circles on your parchment paper so you pipe them all the same size (make sure to trace the circles on the bottom of the paper, though, so the ink doesn't get on your cookies)
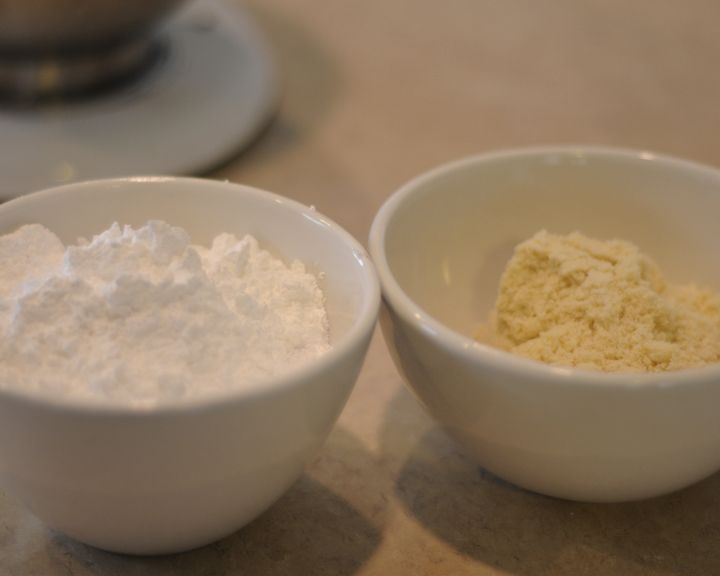
powdered sugar and almond meal
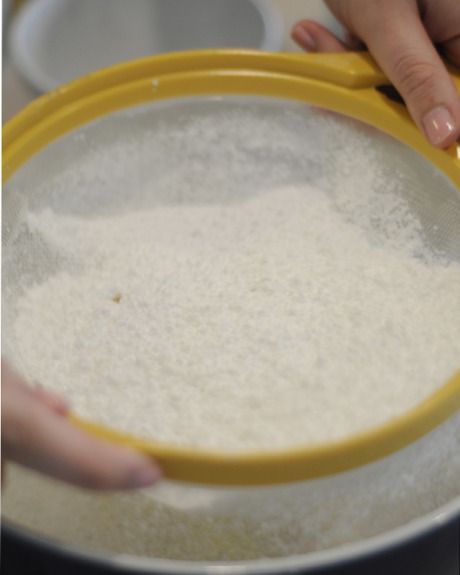
sift them together. twice.

sifted

leave your eggs out for awhile. overnight up to three days will be fine. they just need to be room temperature.
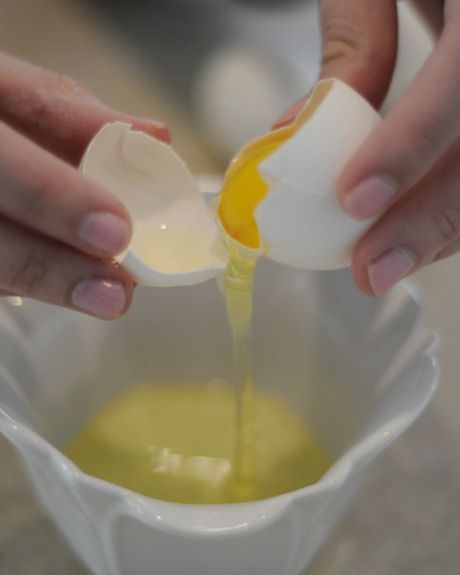
we only need the whites, but save 2 yolks for the filling.
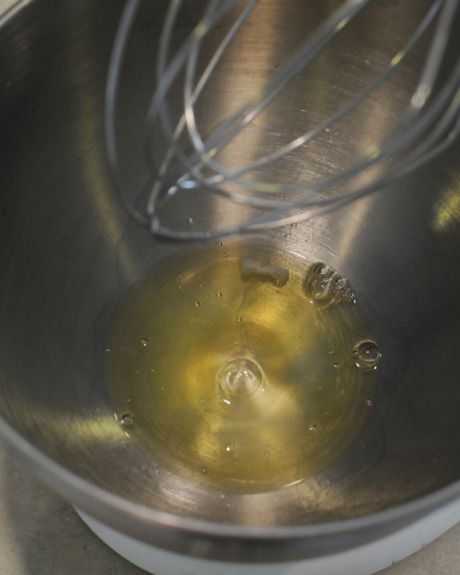
beat it. michael jackson style.

until they are frothy and bubbly

then gradually add the sugar, one tablespoon at a time
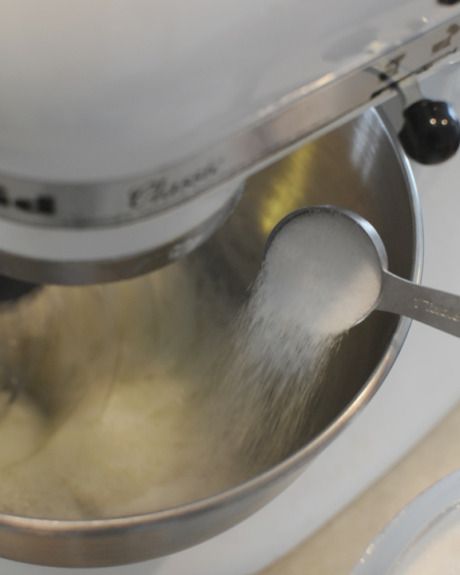
like this
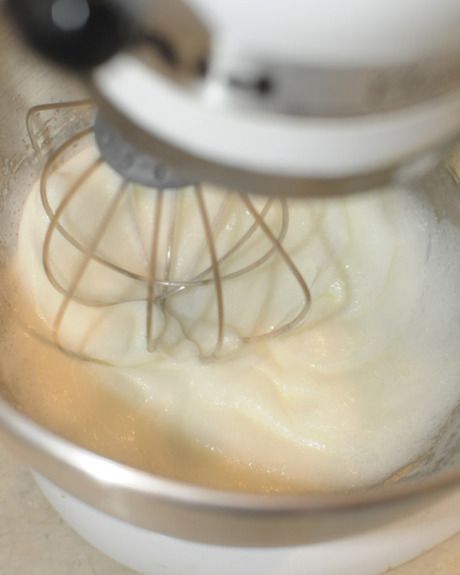
beat it

add vanilla (and food coloring) here.

beat some more. until you get those stiff peaks when you lift the beaters

add half the almond meal / powdered sugar mixture, and fold it in very gently. VERY gently.
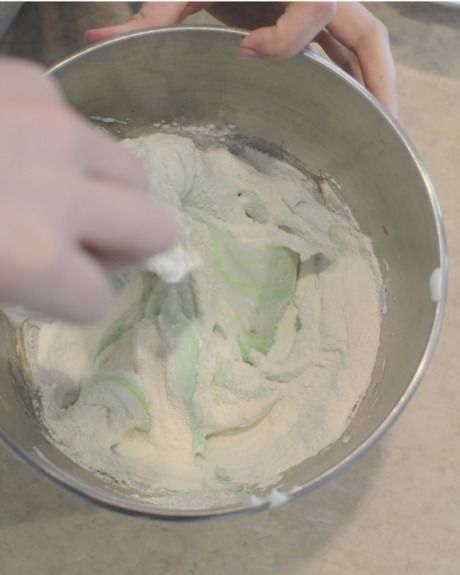
until well incorporated. and then add the second half.
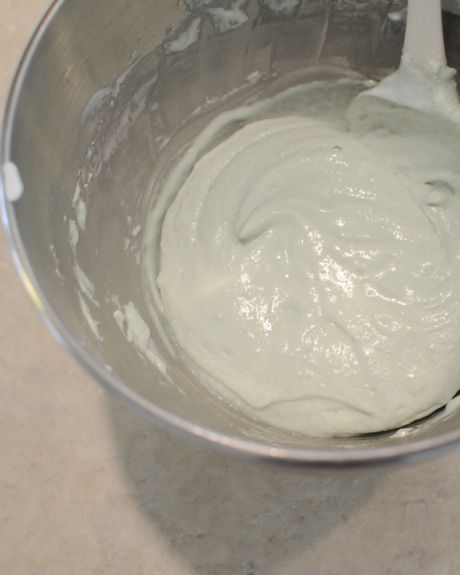
it'll look something like this. and will be the consistency of molten lava, you know, since we all know exactly what consistency molten lava is and all.

use a simple tip like this one.
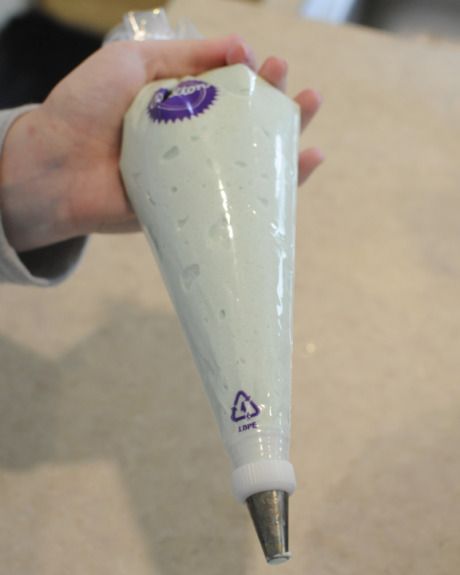
fill your piping bag like so
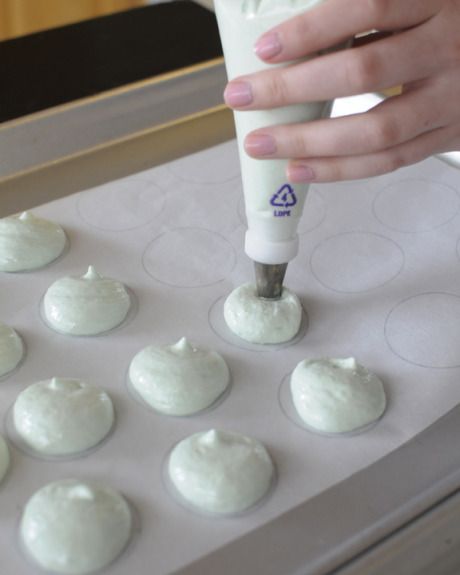
pipe 'em

they'll look like this. (i probably should have used my finger to smooth out those little dollops)
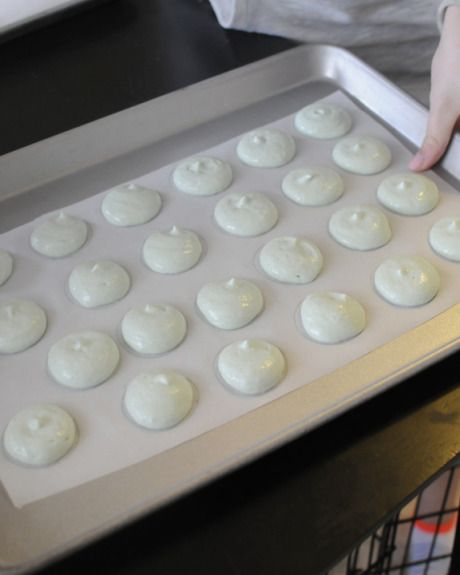
rap the baking sheet on the counter a few times. this will pop the bubbles and flatten out the cookies a little bit, and also help with the feet.
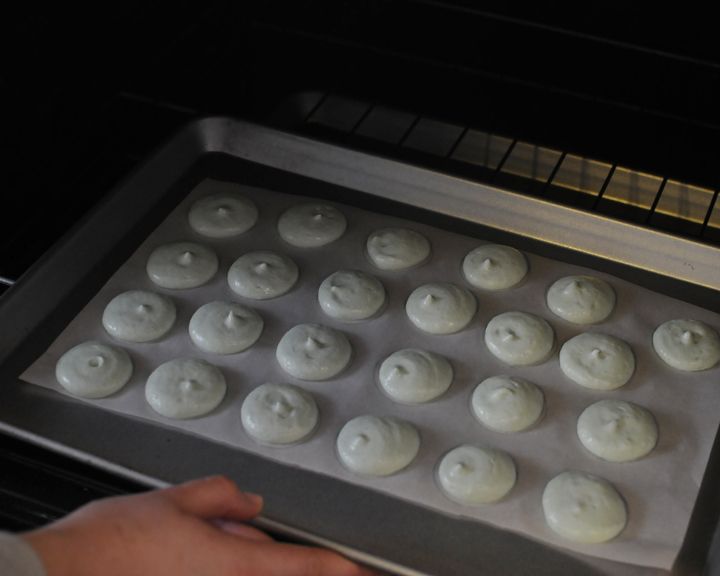
put them in the oven. make sure your racks are as low as they can go.

pull them out before they start to brown! (look! they have feet! like real macarons!)
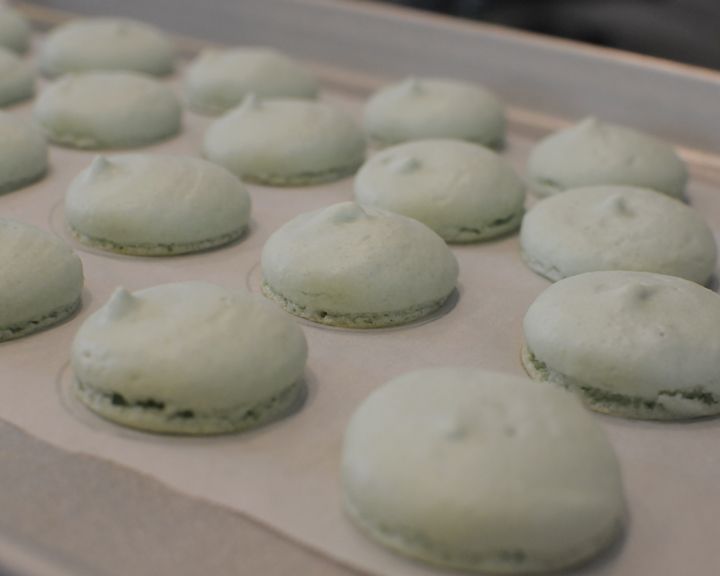
omg omg omg i did it omg omg omg
// so for the filling...\\
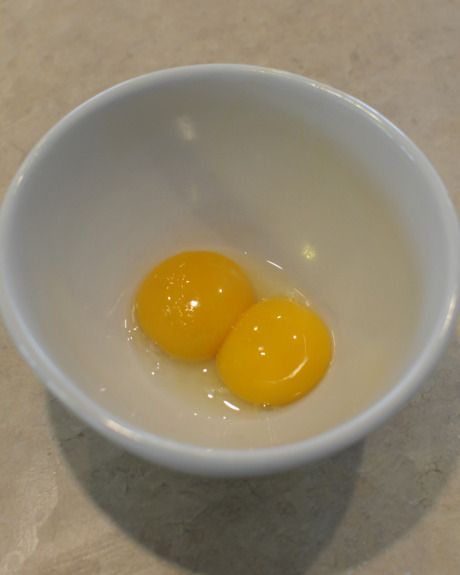
remember those 2 egg yolks you saved? you'll need them now.

but first, cut up almost an entire stick of butter and smoosh it for awhile.

back to the eggs: add the sugar and whisk it.

whip it. whip it real good.
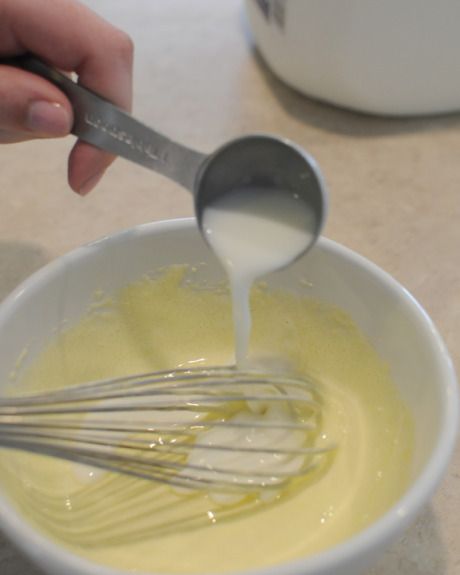
add the milk once it's turned almost white and you can't see the sugar anymore.
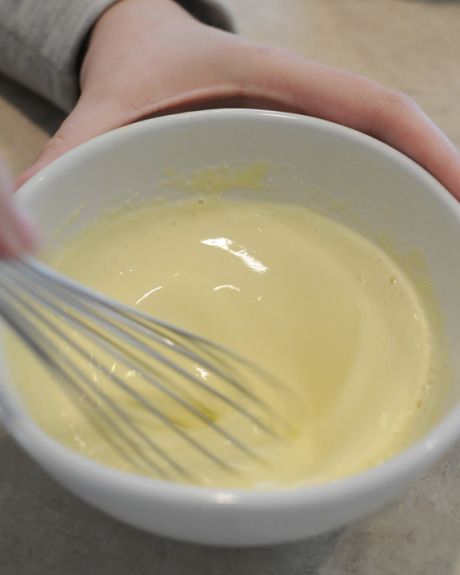
mix it all together.

now put it on the stove
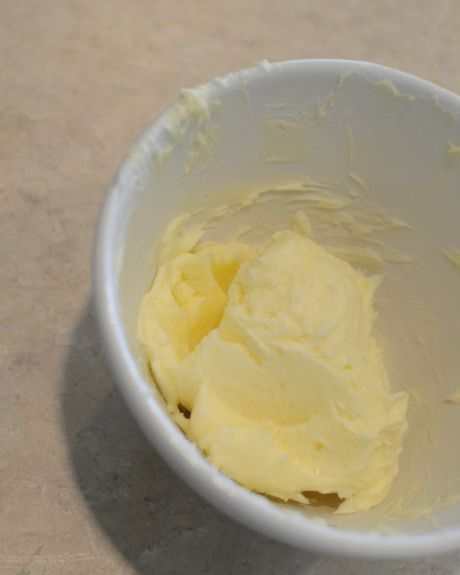
by the way - the butter should eventually look something like this.
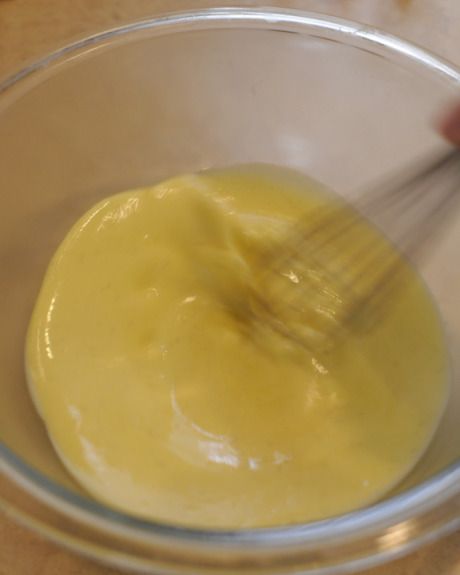
okay once that's off the stove and nice and custard-y, whisk it until it's back to room temperature
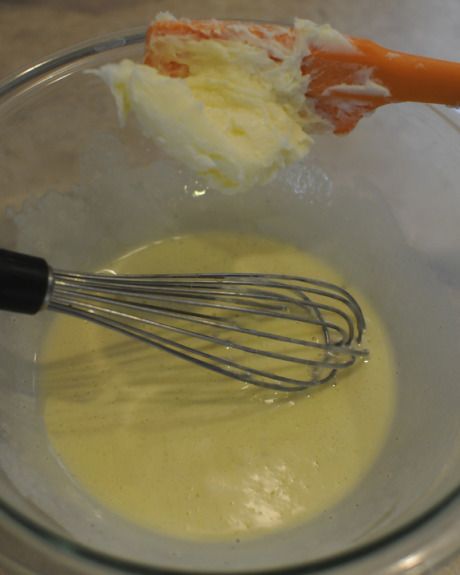
then start adding the butter, in 3 batches.
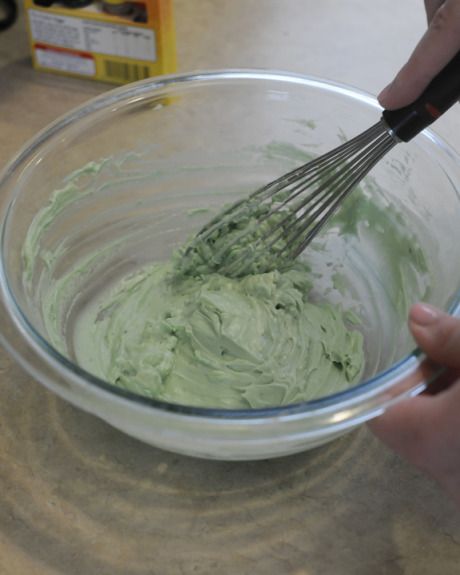
add vanilla and food coloring
// once the macarons have cooled and you're ready to fill...\\
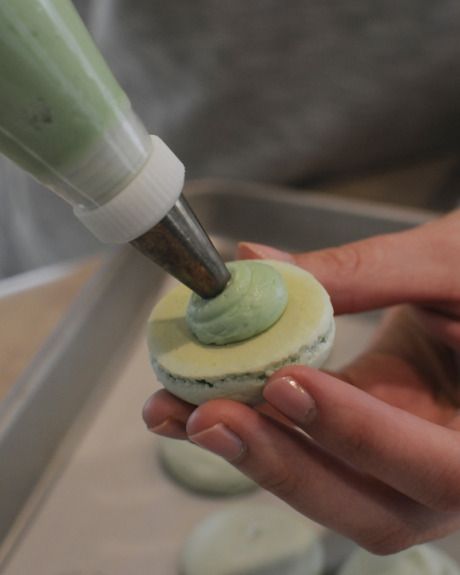
pipe a blob of filling into the center of one macaron
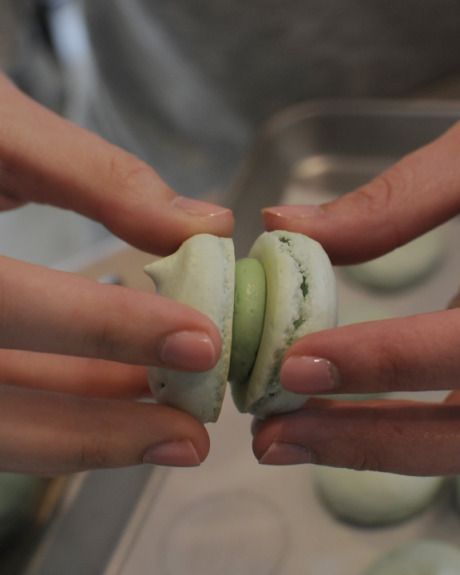
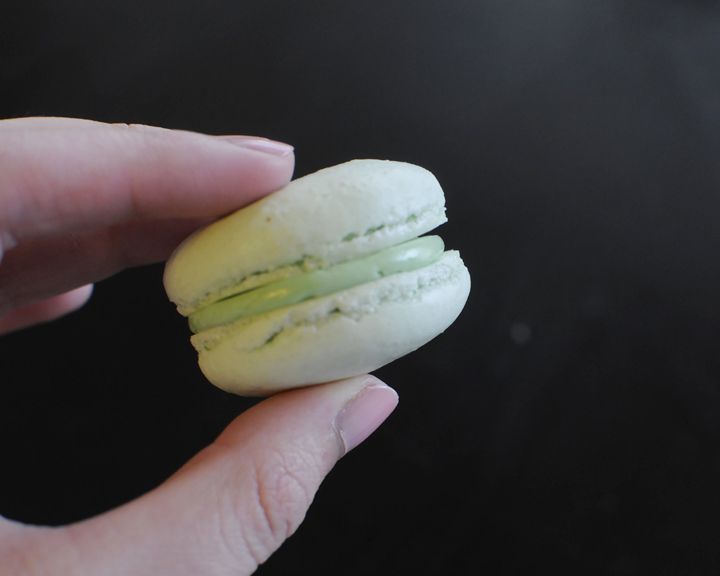
and gently sandwich it with another cookie. be careful! they're fragile.
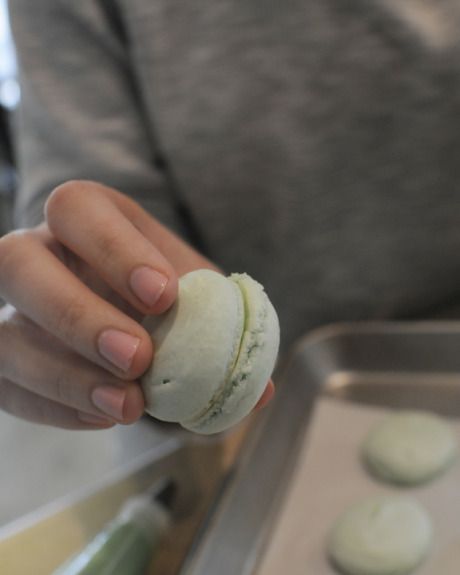
see? they're perf. do yourself a favor and take a bite. it's like, sugary, sweet, melt in your mouth goodness. they are amazing and your life will never be the same. and you can impress pretty much anybody.


Ingredients:
2/3 cup almond meal
1 1/2 cups powdered sugar
3 large eggs white at room temperature
5 tablespoons granulated sugar
1 teaspoon vanilla extract
Directions:
1. Preheat oven to 280 degrees and position 2 racks in the lower section of the oven. Line 2 rimmed baking sheets with parchment paper. If you have time, draw 1-inch circles on the back of each sheet, spacing the circles at least 1/2 inch apart.
2. If your almond meal is very coarse, grind it with the powdered sugar in a food processor until fine. Sift the almond meal and powdered sugar together twice.
3. Place egg whites in the bowl of a stand mixer (or use a hand mixer) and begin to beat on medium-high. When the eggs are frothy (doesn't take long), gradually add granulated sugar one tablespoon at a time until fully incorporated. Continue to beat the egg white mixture until glossy and stiff peaks form when you lift the beaters. Gently stir in the vanilla extract, and any food coloring. Be careful to not over-beat the meringue (it will get clumpy).
4. Add half of the sifted almond mixture and gently fold it into the meringue using a flexible silicone spatula. Lift from the bottom, up around the sides, and toward the middle, being careful to not over-agitate the meringue and lose too much air. Once the almond mixture is predominantly incorporated, add the second half and repeat the folding motion.
5. Pour batter into a pastry bag fitted with a 0.4-inch tip. On your prepared baking sheets, pipe out 1-inch rounds in the circles you drew (remember to draw the circles on the back side of your parchment to avoid ink or pencil stains on your macarons!). Don't pipe the batter like a cupcake in a swirling motion (this is what I did on my first try yesterday, and they turned out just fine, but they were ugly!) Make sure to just hold the tip in one place and let the batter spread into a circle.
6. Holding the baking sheet in both hands, ramp each baking sheet firmly on the counter two or three times. This smooths out the tops and helps form the "pied" or frilly foot on the bottoms of the macarons. Allow the piped macarons to dry, uncovered, for at least 15 minutes. The macarons should form a very thin, smooth crust where, if you tap it lightly with your finger, the batter will not stick to your finger. This may take longer depending on humidity.
7. Place both baking sheets in the oven and bake for 14-16 minutes. After the first 2 minutes, open the over to allow any excess humidity to escape. Halfway through, swap over racks and rotate the sheets for even baking. The macarons are done when the are baked all the way through and the shells are just hard. Take care to not underbake (insides will be mushy) or overbake (tops will be brown). Remove them from the oven and let them cool completely.
8. When they are completely cooled, assemble macarons with your choice of filling. The assembled macarons can be stored in an airtight contained in the fridge for up to one week.
Basic Macaron Buttercream Filling
Ingredients:
7 tablespoons unsalted buttered, softened
2 egg yolks
1/4 cup granulated sugar
3 1/2 tablespoons milk
1 teaspoons vanilla extract
Directions:
1. Cut butter into pieces and mash with a spatula until the consistency resembles mayonnaise.
2. In a small bowl, whisk the egg yolks, then add the granulated sugar and whisk until the mixture lightens to an off-white and you can no longer see the granules of sugar. Add the milk, and whisk to combine.
3. Pour the egg mixture into a small saucepan and heat over low heat, whisking frequently to ensure that the mixture does not curdle or scorch. Cook until the mixture becomes thick and custardy, like pudding.
4. Pour the egg mixture back into a bowl and whisk constantly until it returns to room temperature. Whisk in the butter in three batches, add the vanilla and any food coloring, and stir until smooth and all ingredients are fully combined. Pipe or spread onto one macaron half and sandwich between the other.


2 comments:
They look perfect! I agree, they are just the cutest thing ever. As soon as I read the words "careful and precise" I knew that making them probably isn't in my neat future- I'm horrible at baking for that reason. The more I stalk you ;) via Instagram and your blog, the more I realize that we should have hung out more at Dixie. We would have got along great. I guess this will have to do for now! Xo Natasha
Near future *
Post a Comment